This is a great skirt for traveling or when you or your child spills something on the skirt just minutes after putting it on.
Remember even though I made the skirts for my daughter, you can make adult size of these skirts. I show you how to draft your own skirt pattern so you can make one for yourself.
from: Simply Modern Mom.
Supplies:
• 4 different fabrics
• matching thread
• 1-inch wide elastic
• sewing needle
• skirt pattern
1. Trace and cut out pattern on the fabrics. Make sure you have 2 of each piece in each color.
2. Do a basting stitch to the top of all skirt pieces. Then ruffle it to fit the bottom of the waistband pieces. Do to all 4 pieces.
3. Pin the skirt piece to the bottom of the waistband piece with the right sides together. Then sew at 1/2 seam. Then iron flat. Do to all four waist-skirt matching pieces.
4. Match the sides of the skirt pieces with the same colors. Pin in place then sew at 1/2 inch seam from top of waistband to bottom of skirt. But on one side of one of the skirts, leave an inch opening at the top of the waistband for the elastic to go through later. So essentially, you end up with two skirts.
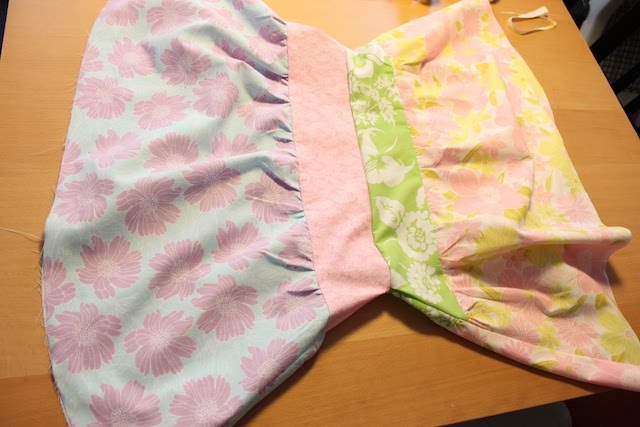
5. Match the skirts right sides together. Like in the picture, on skirt is on the inside with the right side out, then cover with second skirt with right side in.
6. Sew around the top of the skirt at 1/2 inch seam. When you pull the skirts out, it should look like the picture below. Then flip one of the skirts inside the other and iron the top.
7. Next we work on the bottom of the skirt. Iron the bottom 1/2 inch seam into the inside of the skirt. Then match with the second skirt and sew as close to the edge as you can on the outside of the skirt.
8. For the elastic band, sew the bottom of the elastic casing over the top of the skirt at 1 1/4 inch from the top of the skirt. Remember, you should have an opening for the elastic.
9. Slip the elastic through. Using a safety pin will help. Then sew the two ends of the elastic together.
10. Whipstitch the opening close and you’re done!


No comments:
Post a Comment