From: Simply Modern Mom
I started my wall decorations with this easy project of making silhouettes of all of us and framing it using fabric as the background. Cheap and easy fix to a plain wall. You will have to excuse the glare in the pictures. The frames are located at a super glare wall of our house. And I’m too cheap to go non-glare on the glass and just used the glass that came with the frames.
I used 11 x 14 inch frames because I wanted these to be big. Hence the thick frames too. I love chunky frames. Of course, when you make yours, you can adjust according to size. My secret to these silhouette frames is…
Supplies:
11 x 14 inch frames
profile photos of each person
black marker
scissors
white color pencil
black cardstock
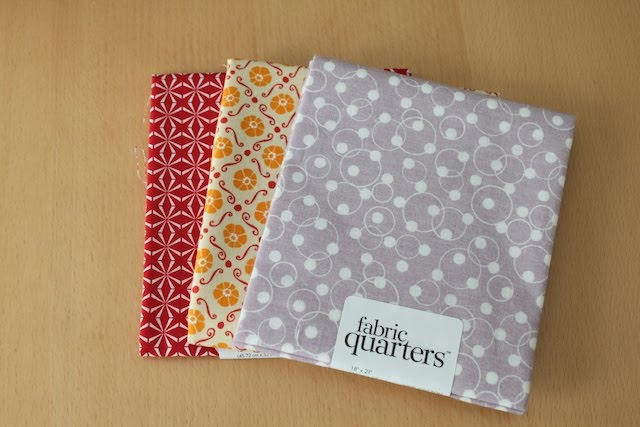
quarter fabric or scraps that are at least 14 x 17 inches
11 x 14 inch canvas panels
Mod Podge
sponge brush
glue gun
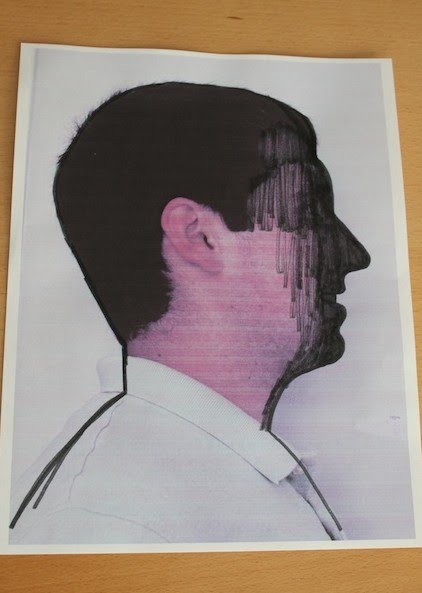
1. Take profile pictures of each person. Then print them out to the size you want them to be in the frames. I used my printer at home to print the profiles onto 8 1/2 x 11 inch printer paper and enlarged the photos to fit the paper.
2. Using the black marker, trace the profile of the images. You can blacken the face to get a better idea of the outline of the head.
3. Cut out the profiles.
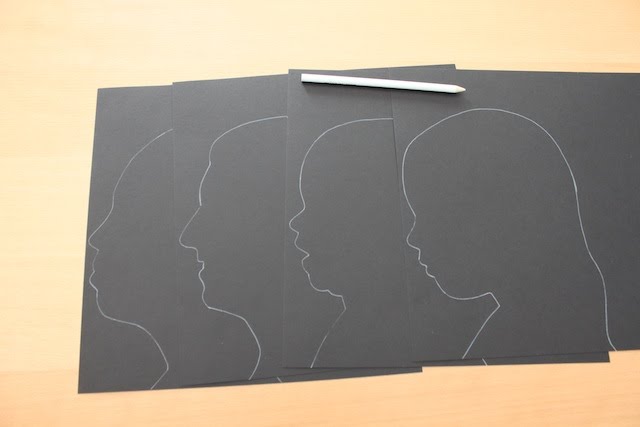
4. Using the white color pencil, trace the cut out profiles onto black cardstock. Make sure you trace in the opposite direct you want your profiles to go in the frame.
5. Cut out the cardstock. The side you traced with white color pencil as the back and the profiles should be pointing in the right direction.
6. If you are doing 11 x 14 inch frames like me, then you cut your fabric to 14 x 17 inches. If not, then adjust according to size.
7. With the fabric wrong side up, place the canvas panel in the middle of the fabric. You should have a 1 1/2-inch excess all the way around.
8. Use the glue gun to glue the excess fabric in place to the back of the panel. I did two opposite sides first. Then fold the corners and glue in place. And finally glue the other two sides.
9. Now use Mod Podge to attach the silhouettes to the fabric canvas. Use a brayer to flatten the paper from center out to prevent bubbles. Or I just used my hands then set books and magazines on top to help it flatten as it dries. Then I Mod Podged the paper silhouettes so finish off. Careful not to get it on the fabric. Allow to completely dry before placing in frames. And done!


No comments:
Post a Comment