
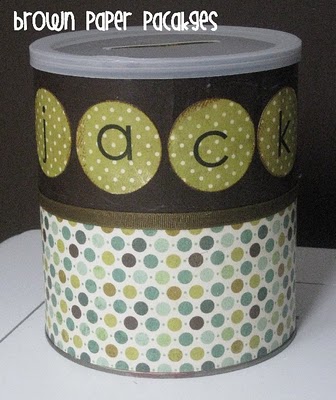
I have been excited to make this project for a couple of months now, I just love to personalize things--I think it makes everything more fun! This project is no exception. It also has the components that are perfect for little ones...the thickness of the juice can lids is just right for their hands, and the clink when they hit the bottom of the can is sure to please. It's also easy to do, and can be finished in a day. What a fun gift!

Here's how I did it!
ITEMS YOU NEED:
• #10 can (you could even use a formula can--they are a little smaller, but it would work)
• 26 frozen concentrate lids (My plan is to make more for numbers 1-10, so you would need 36 if you wanted to do this as well.)
• scrapbook paper
• 2 inch circle punch (this is optional, but makes it MUCH faster and easier)
• distress ink
• Mod Podge and foam brush
• ribbon
• hot glue gun
• drill

• Print the alphabet onto desired scrapbook paper. I did both upper and lowercase, using 2 different papers. The font is Century Gothic, sized to 100. I fit 8 of that size letter on a 8 1/2 x 11 piece of paper (I cut mine down from 12x12, since my printer doesn't accept that size), and it was just enough to cut the size of circles I needed.


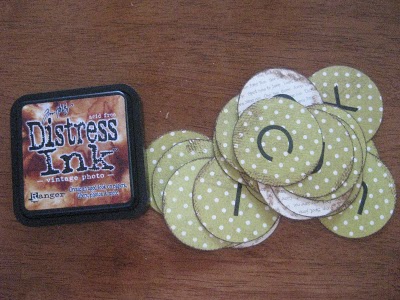
• Wash your lids well, then let them dry completely. Using a foam brush, apply Mod Podge to the bottom of the circle, then center it in the middle of the lid. Mod Podge over the top of the paper as well, and let dry. Once it's dry, you can repeat the process on the other side with the other set (lower or upper). Make sure you match up the letters on each lid--Dd, Ee, etc. **Because my boys' names don't have any repeating letters, I used the contrasting paper for the initials of their name. For example, the lowercase letters were done in the green polka dot paper, so for Jack's name, I used the cream paper for the lowercase j, a, c, and k. I did the same with Henry's name.


• After your paper is completely dry, you are ready to add any paper embellishments you like. I used the same letter circles to spell the boys' names--I loved the contrast of the papers. You could use also use vinyl, paint, etc. If you use paper like I did, use Mod Podge to secure it in place. Let dry.
• Hot glue your ribbon around the can, where the two papers meet.


No comments:
Post a Comment